Hiya, today I have something quite different for you as I have made a Tattered Lace Pop Up Box Card plus, just as an aside, I have also shown you how to make the Windmill that is included in the die set.
I have to be honest when Tattered Lace sent to me this die set I was rather daunted as I have never made anything like this before. However I did a little research and then I dove straight on in without even so much as a practice run! LOL!
Turns out it’s pretty easy, and it makes you look super clever! LOL. Just a couple little tricks and its even simpler. I noticed when I was doing my research that a lot of people seem to struggle when attaching the little “struts” across their box. However pure mechanics dictates that if you allow the box to do the work you cannot fail but to get these pieces in the right place and by doing it this way it’s super simple too! So double bonus! Lol!
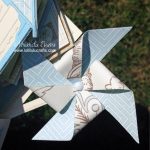
So have a watch of the video to see how you construct one of these pop-up box cards, plus I continued and fully decorated it to so you have a full project video as well. Finally I was asked by Tattered Lace to demonstrate how to make the Windmill that came in the pop-up box die set so you will find that in the video as well. In fact it ended up being the whole inspiration for the decoration on my pop-up box card!
So anyway here is my Tattered Lace Pop Up Box Card video: –
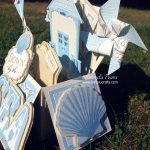
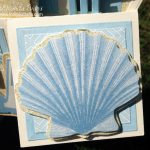
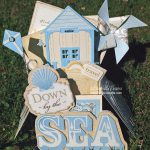
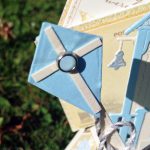
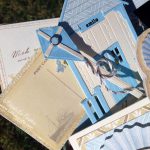
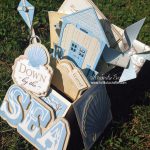
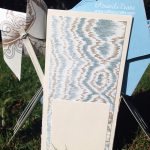
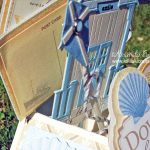
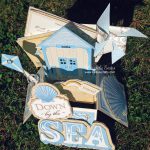
Well I hope you liked the card as you can see I did make one little error – I should have put the front sticker over to the left instead of to the right and if I done that it would have still fitted easily into a 6″ x 6″ box envelope. In fact these cards are designed to fit in a regular 6″ x 6″ envelope as long as your decoration is not too 3-D or outside the parameters of the 6″ x 6″ envelope. Anyway as always here are some photos of the finished card: –
So finally before we finish today just to let you know that this is a project that I made in my capacity as a Tattered Lace blogger and therefore I was sent the pop-up box die set only from Tattered Lace, all other dies on my own.
Otherwise that is it for today I hope you have enjoyed this video and liked the finished card. I would love to hear what you think so please do leave a comment and do you share if you have enjoyed. But for now hugs and have a great craft day,
●▬▬▬▬▬ ●SUPPLIES● ▬▬▬▬▬●
Below are the products featured in today’s Video. Some products can be purchased from multiple stores so I have given each store different letter codes. Click on the letters below the picture to go to a favorite store: Simon Says Stamp (SSS), Dick Blick (DB), Cricut (C), Scrapbook.com (SB) and Amazon (AMZ)
●▬▬▬▬▬ ● DISCLAIMER ● ▬▬▬▬▬●
Affiliate links are used. For affiliate information and policy please see the Policy page.










Wow, wow, wow! I have made several box cards, but you have made the process much more simple with your construction tips! Thank You!!! And your card is beautiful, so many wonderful details!
Ahh thank you and so glad to have helped, and glad you liked the card too xx
Stunning box card. Thanks for showing us how to make the windmill, I was struggling, and that starting the struts before making up the box is easier. Found your blog after seeing your box card on Ideal World today.
wow thank you, can’t believe you found me after that brief and incomplete read of my email they did! Power of advertising lol! so glad you found it useful and happy to have helped, have a great craft day and hope to see you again, Amanda
Thank you Amanda, this was just what I needed as my die set had no instructions as to how to use the different elements. You made it all make sense! Thank you
So glad to have helped and look forward to seeing lots of your box cards 🙂